Alrighty so I am going to do my first ever tutorial on making pinwheel flowers. I love trying new things and making my own embellishments since buying them can get VERY expensive... and well my hobby is expensive enough to begin with :)
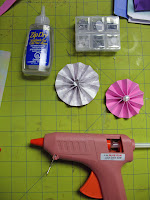
The following is what u will need... also a scor-pal if you have one:
First i inked an piece of paper... cut 1 1/2 inch by 12inch.
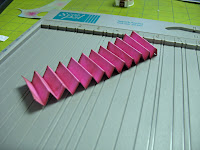
Then I used my scor-pal and at every inch I scored a line... flipped the paper over and scored again at every half inch. So when it is done there is a score line at every half inch.
Next I folded my paper at the score lines.
Next you will overlap the ends and use your glue gun to secure it. In the picture below I am pushing the flower down once I glued the ends together to get a flower. Tip: With a 12 inch length.. I wouldn't cut the strip wider than 1 1/2 inches... also it is VERY useful to have a glue gun and not just regular glue.
You will need to cut a circle... which you should probably do before this part... sorry.... and you will glue the back of this flower to the circle so it stays flat and stops popping up everytime you let go of it.
Next is the fun part where you can add whatever you want to the middle of the flower. Here I kept it simple and added a gem. In the next picture I cut some more circles... inked them... and then put a big blob of glue from my glue gun and sprinkled little beads for the center. So many possibilities!!!
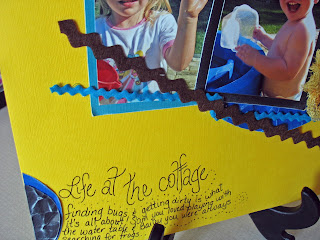
Last night I made one of these for my layout and scored it at every 1/4 inch instead of every 1/2 inch which I think I like better. I will post the layout so you can see when I am finished it. Hope this is easy to follow and enjoy!! If you use this tutorial... I would love if you comment and send me a link to what you come up with. Thanks!


